Making an Antique-Style Pepper Grinder
Looking for an interesting attention getter for your craft sales, a really cool gift for that special friend, or another way to impress your spouse? Have we got a deal for you!!!
Woodcraft is marketing a set of kits of an Antique-Style Pepper Grinders, in Antique Brass or Antique Copper. The process for both is the same, and total time for completion of the project is less than an hour.
Materials Required:
- Antique Pepper Grinder kit from Woodcraft
- 3x3x6-in wood, your choice of species
- Cone live center
- Drive Center
- 1 1/16-in Forstner Bit
- Jacobs chuck to fit your tail-stock (#2 morse taper) and/or
- 4” or 6"- Forstner bit extension with #2 morse taper
- Sandpaper selection
- Scroll chuck with #1 jaws (1-in od minimum)
- Tool: Spindle roughing gouge, spindle gouge, parting tool, curved scraper
- Finish of your choice (I use 50/50 shellac for seal coat, and Doctors Woodshop Pens Plus for top coat..awesome finish!!!)

Process:
- Locate centers on both ends of your 6-inch blank and mount between centers. Make sure tailstock, banjo and tool rest are locked down in the proper position. Lathe speed should be about 1800 RPM
- Turn the blank to a cylinder of 2 1/4” diameter at the top end..bottom end can be same or a little larger
- Turn a tenon of 3/8” on the bottom, 1 1/2” in diameter. NOTE: if you have another scroll chuck with the #2 jaws, you can make the tenon 2 1/4 "- 2 1/2” in diameter
- Mount the blank to the scroll chuck…verify the centers are lining up by checking with the live center point
- Using the Jacobs chuck or the Forstner bit extension, drill a 1 1/16” hole 4” deep. Clear the shavings out every 1/2 inch or 1-inch
- Remove the drill bit apparatus, reinstall the cone live center in the tailstock, registering into the 1 1/16” hole you have just created
- Shape the outside to what your imagination demands or permits. I find a long gentle cove, about 1/4 or 3/8 inch deep looks and feels good
- The body should be 3 1/2 to 4-inches long…the rest is waste. Remember your hole is 4 ‘ deep
- Sand to your satisfaction
- Apply several seal coats and then at LEAST FIVE COATS of final finish…..make sure you have sanded and finished the top surface
- Measure and mark where you determine the bottom of the hole to be…subtract 1/8 to 1/4 inch (good insurance!!)
- Using the parting tool, and making sure you are at 90-egrees, part through the blank. If you measured well, you run into the hole
- Remount he blank onto the scroll chuck, but now the top is toward the headstock.
- Clean up the bottom surface with the spindle gouge or scraper, sand and finish
- The top mechanism mounts with two screws…a good idea is to drill pilot holes and then screw it down
- You will need to remove and remount the crank…for packaging it is reversed.
So…you have now created a handsome item, usually marketed in craft shows for $35-$65.
Not bad, eh?

Related Posts
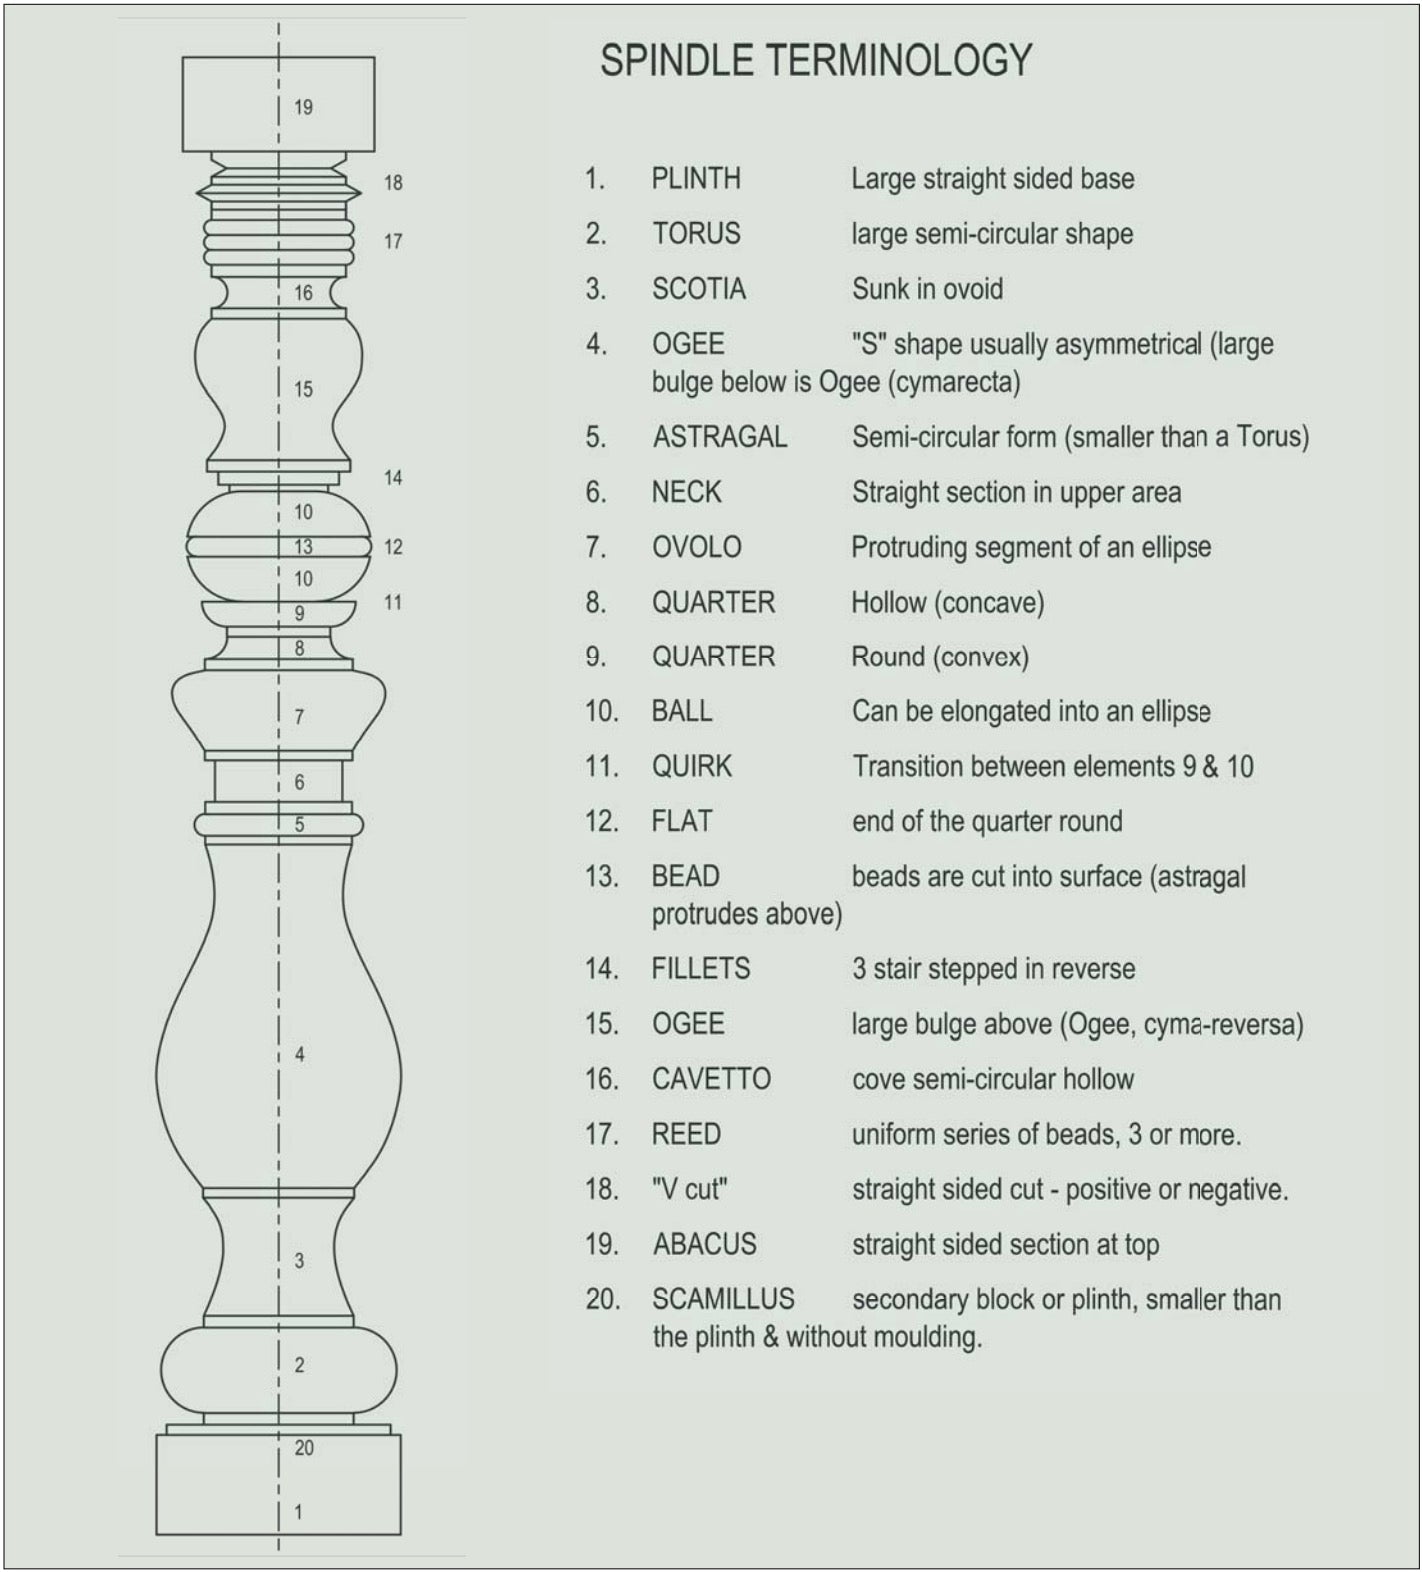
Spindle Nomenclature - Shapes and Individual Features to Create Spindle Work
We have all chucked up a turning square of one kind or another and, with the set of tools common to most, roughed-out, p...
Read More
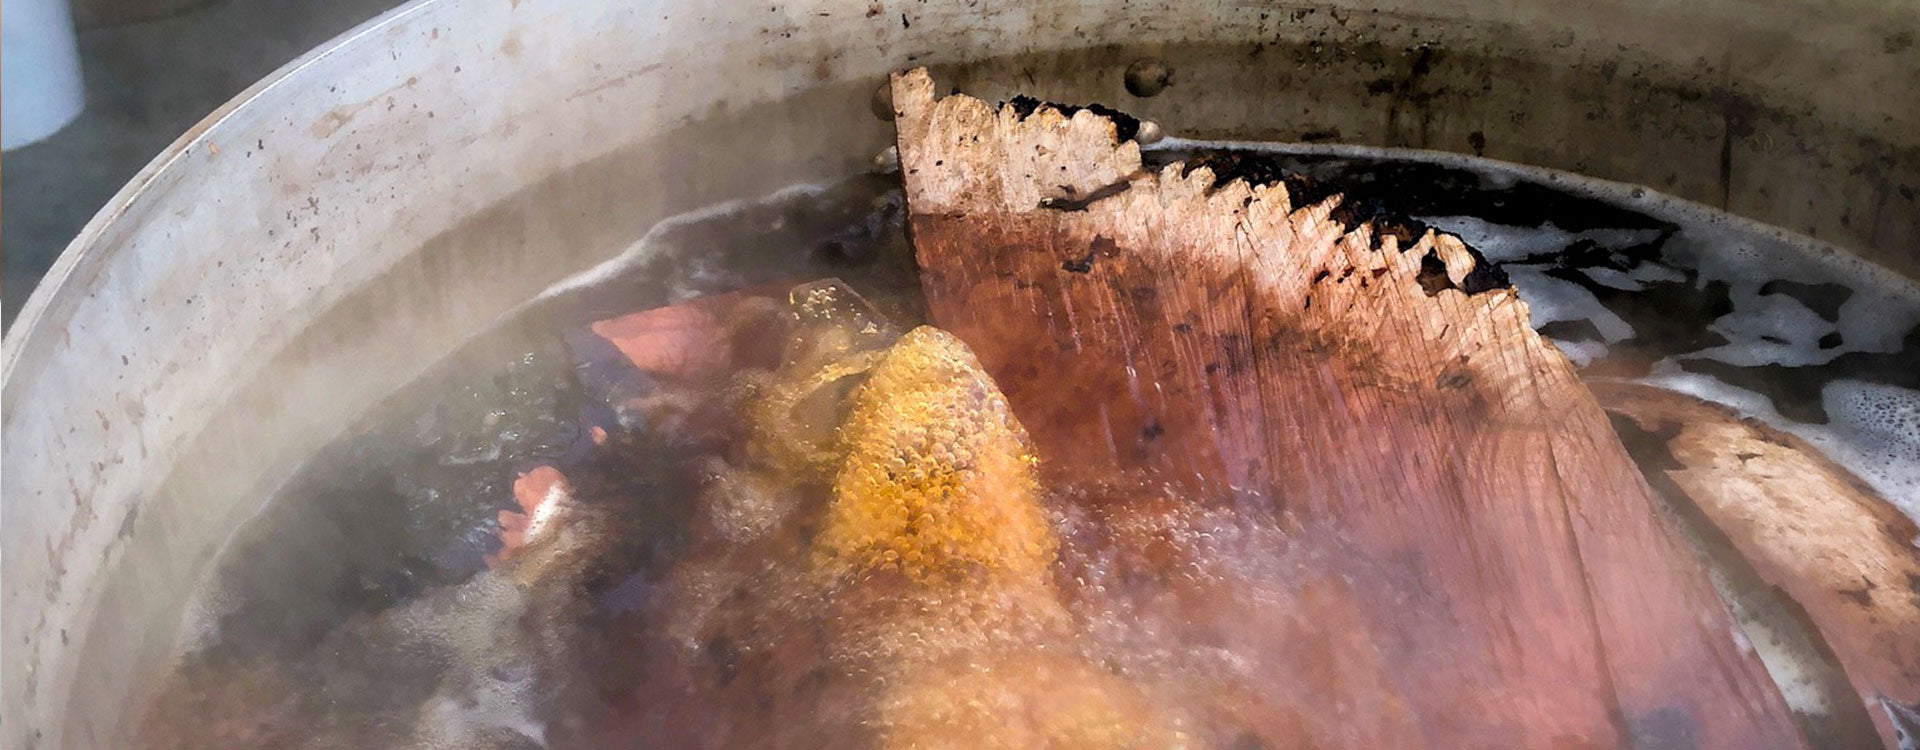
Boiling Madrone
A recent post shows the Woodwhirled Crew boiling Madrone…and why do we do this?
Madrone is a tree that only grows in a n...
Read More
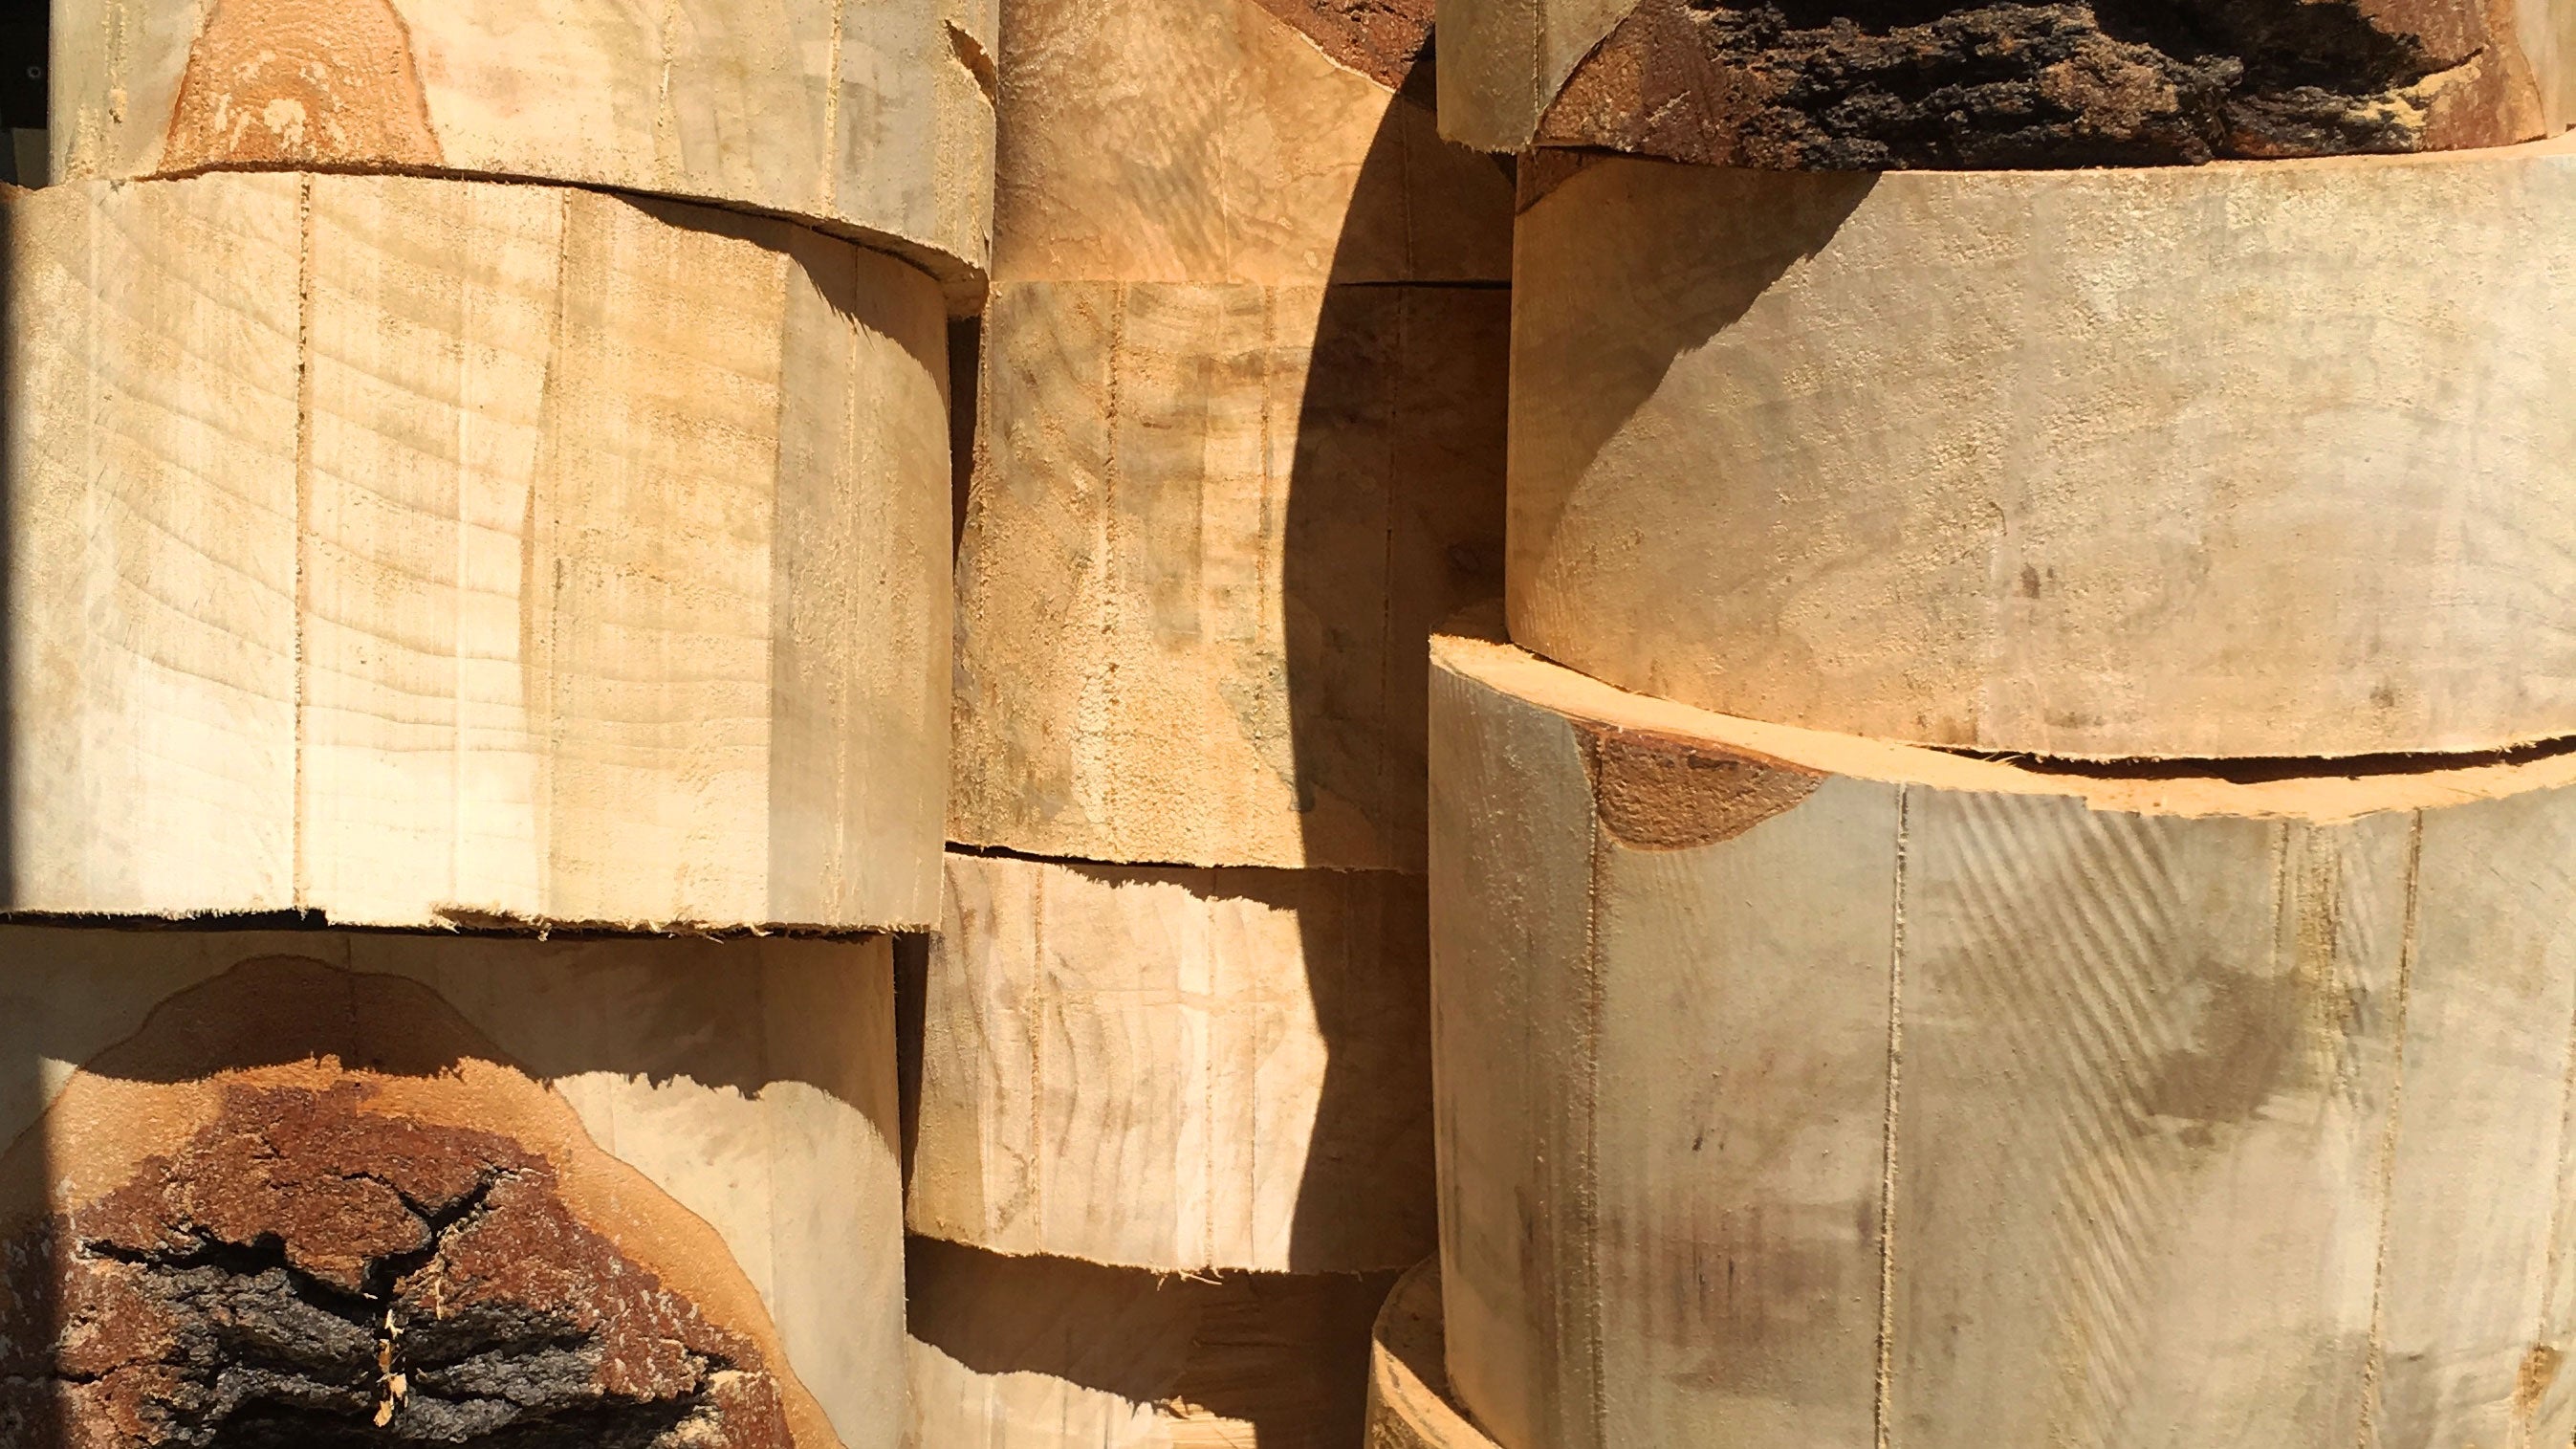
Wood Sources and Preparation
As a beginning woodturner, one of your first anxieties is finding a source of material. If there is a store nearby that...
Read More
84 comments
jpJHDyriX
XaoPVhlnHjvyfw
LXAfNcbSi
fPwBhEDYXQUez
erRtpouNZJjv