Turning a Bowl the Western Way
NOTE: These directions assume that the turner will use a scroll chuck.
TOOLS REQUIRED:
- ½” bowl gouge w/ fingernail profile
- 3/8” bowl gouge w/fingernail profile
- 3/8” bedan
- 3/8” spindle gouge w/fingernail profile
- 1”-1 ½” HD curved scraper
- Scroll chuck and jumbo jaws/cole jaws
- ½” drill bit 6-inches long (hand held or Jacobs chuck driven
1) Check and verify that lathe speed is at lowest setting.
2) Insure that bowl blank is as round as possible by using a chainsaw/bandsaw.
3) Attach faceplate to center of flat surface that will become the top of the bowl. Use
sheetmetal screws, lag screws or particleboard screws.
4) Mount blank to spindle. Bring tailstock/live center up, lock in place and put pressure
on bottom of bowl.
5) Adjust tool rest for height and clearance. Turn bowl by hand to verify clearance.
Proper tool rest height is such that the cutting edge of the tool is at (or slightly above)
lathe centerline when the tool is in the proper position (handle down on hip).
6) Adjust lathe speed. First rule: NO VIBRATION!! Lathe speed formula is:
Rpm x Diameter (inches) = 9,000/12,000
If Rpm = 1,000 and diameter is 10", the answer is 10,000….if there is no vibration.
If vibration occurs, turn the speed down until it goes away. As bowl becomes more
rounded (balanced), slowly increase speed.
7) It is critical that you concentrate on making a controlled cut. REMEMBER: when
cutting to the right, the flute goes in that direction and use the right side of the gouge
to cut. When cutting to the left, use the left side of the gouge and the flute points to
the left. The BEVEL controls the cut and should always be in contact with the wood.
Look over the top of the tool and observe the BEVEL. It should be parallel with the
lathe. Always start the cut from the ends, not the sides.
8) When bowl blank is round, begin the curving cuts for the bottom. AVOID creating a
straight angled cut…you do not want a flower pot!!
To make a curving cut: always use the bevel, never have the flute up; as the cut
progresses, raise the handle, feed the tool forward and push the handle forward…all
at the same time.
9) Make the foot. Back the tailstock so that it is out of the way; you may remove it if
you wish. Flatten the area where the foot will go. At this time give some thought as
to what you want the foot to look like: round/pedestal/ring…? The foot dimensions
are in the diagram; diameter provides strength, but keep in mind that the top of the
jaws must register on the flat next to the tenon, and the tenon base NEVER contacts
the bottom of the jaws. The shoulder area must be at 90-deg and perfectly clean.
10) Refine your shape as needed. Look at the profile as it spins, then stop the lathe and
feel the shape. Does it have high spots? Flat spots? Torn grain? Make whatever
repairs and adjustments as necessary using the 3/8" bowl gouge or scraper.

11) Sand, starting with 80-grit and progressing to 320-grit. Inspect for sanding scratches
And insure that you have a perfect surface. POLISH the surface with shavings, then
Apply the finish of your choice (3 or more coats) and last apply a coat of wax.
12) Verify that the chuck will fit the foot BEFORE you remove the bowl from the lathe.
Make any adjustments as needed, by either adjusting the diameter/height of the foot
or by changing the jaws on the chuck.
REMEMBER: once you take the faceplate off, it will NEVER go back in the same
place again.
13) Remove the blank from the lathe…DON'T DROP IT!!! Now remove the faceplate.
Turn the lathe speed all the way down.
14) Attach the chuck to the lathe, and THEN mount the bowl into the chuck. Snug up
the chuck, but do not tighten it. Inspect the fit on the tenon: are the jaws registering
tightly against the flat shoulder? Are there any gaps? Is the tenon contacting the
bottom of the jaws. Now tighten the jaws. Turn the lathe speed up slowly and
observe the profile as it spins. If there is no wobble or vibration, you are good to proceed.
15) Using the 3/8" bowl gouge, carefully flatten the top surface. Turn a slight depression at the exact center; this is for the drill bit. Lathe speed should not be more than 500 RPM. Mark the drill bit. The hole depth should be 1" LESS than the height of the
bowl….do not include the foot. So: if the bowl is 4" high. Make a mark (tape is
good) at 3" on the bit to show when to stop drilling. Drill in 1/2", pull out and clear the shavings, repeat, repeat, repeat….
16) Using the 3/8" bowl gouge, your first cut is at the edge of the drilled hole. You
ALWAYS start at center and cut towards center. Hold the gouge level (horizontal)
and use your thumb to back up the gouge as the cut starts. The BEVEL should
point in at about 45-deg, and the cut should only be about 1/8" thick. You want
to develop a cone-shaped cut, ending at the depth/centering hole.
17) If the hole becomes deeper than the diameter, concentrate on creating more diameter.
HANGOVER is the measurement from the toolrest to where the tool contacts the
wood. Generally, you want to keep this under 21/2"-3". A way to control/minimize this is place one end of the tool rest inside the bowl whenever possible. Insure that the toolrest doest not make contact with the bowl. A curved toolrest is a great
accessory to have for these occasions.
18) FREQUENTLY check and verify the thickness and depth.
REMEMBER: that the inside shape should mirror the outside shape!
REMEMBER: the inside dimension should never exceed the outside dimension.
19) Refine the inside with a bowl gouge or curved scraper. Check bottom thickness,
20) Sand, polish, apply finish and wax…almost done!!
21) Remove from chuck, install cole/jumbo jaws and mount on chuck at rim. Lathe
speed should not exceed 700 RPM. Using the 3/8" spindle gouge remove any
chuck marks on the foot and do any final design work on the foot as desired.
22) SUCCESS!!!

Related Posts
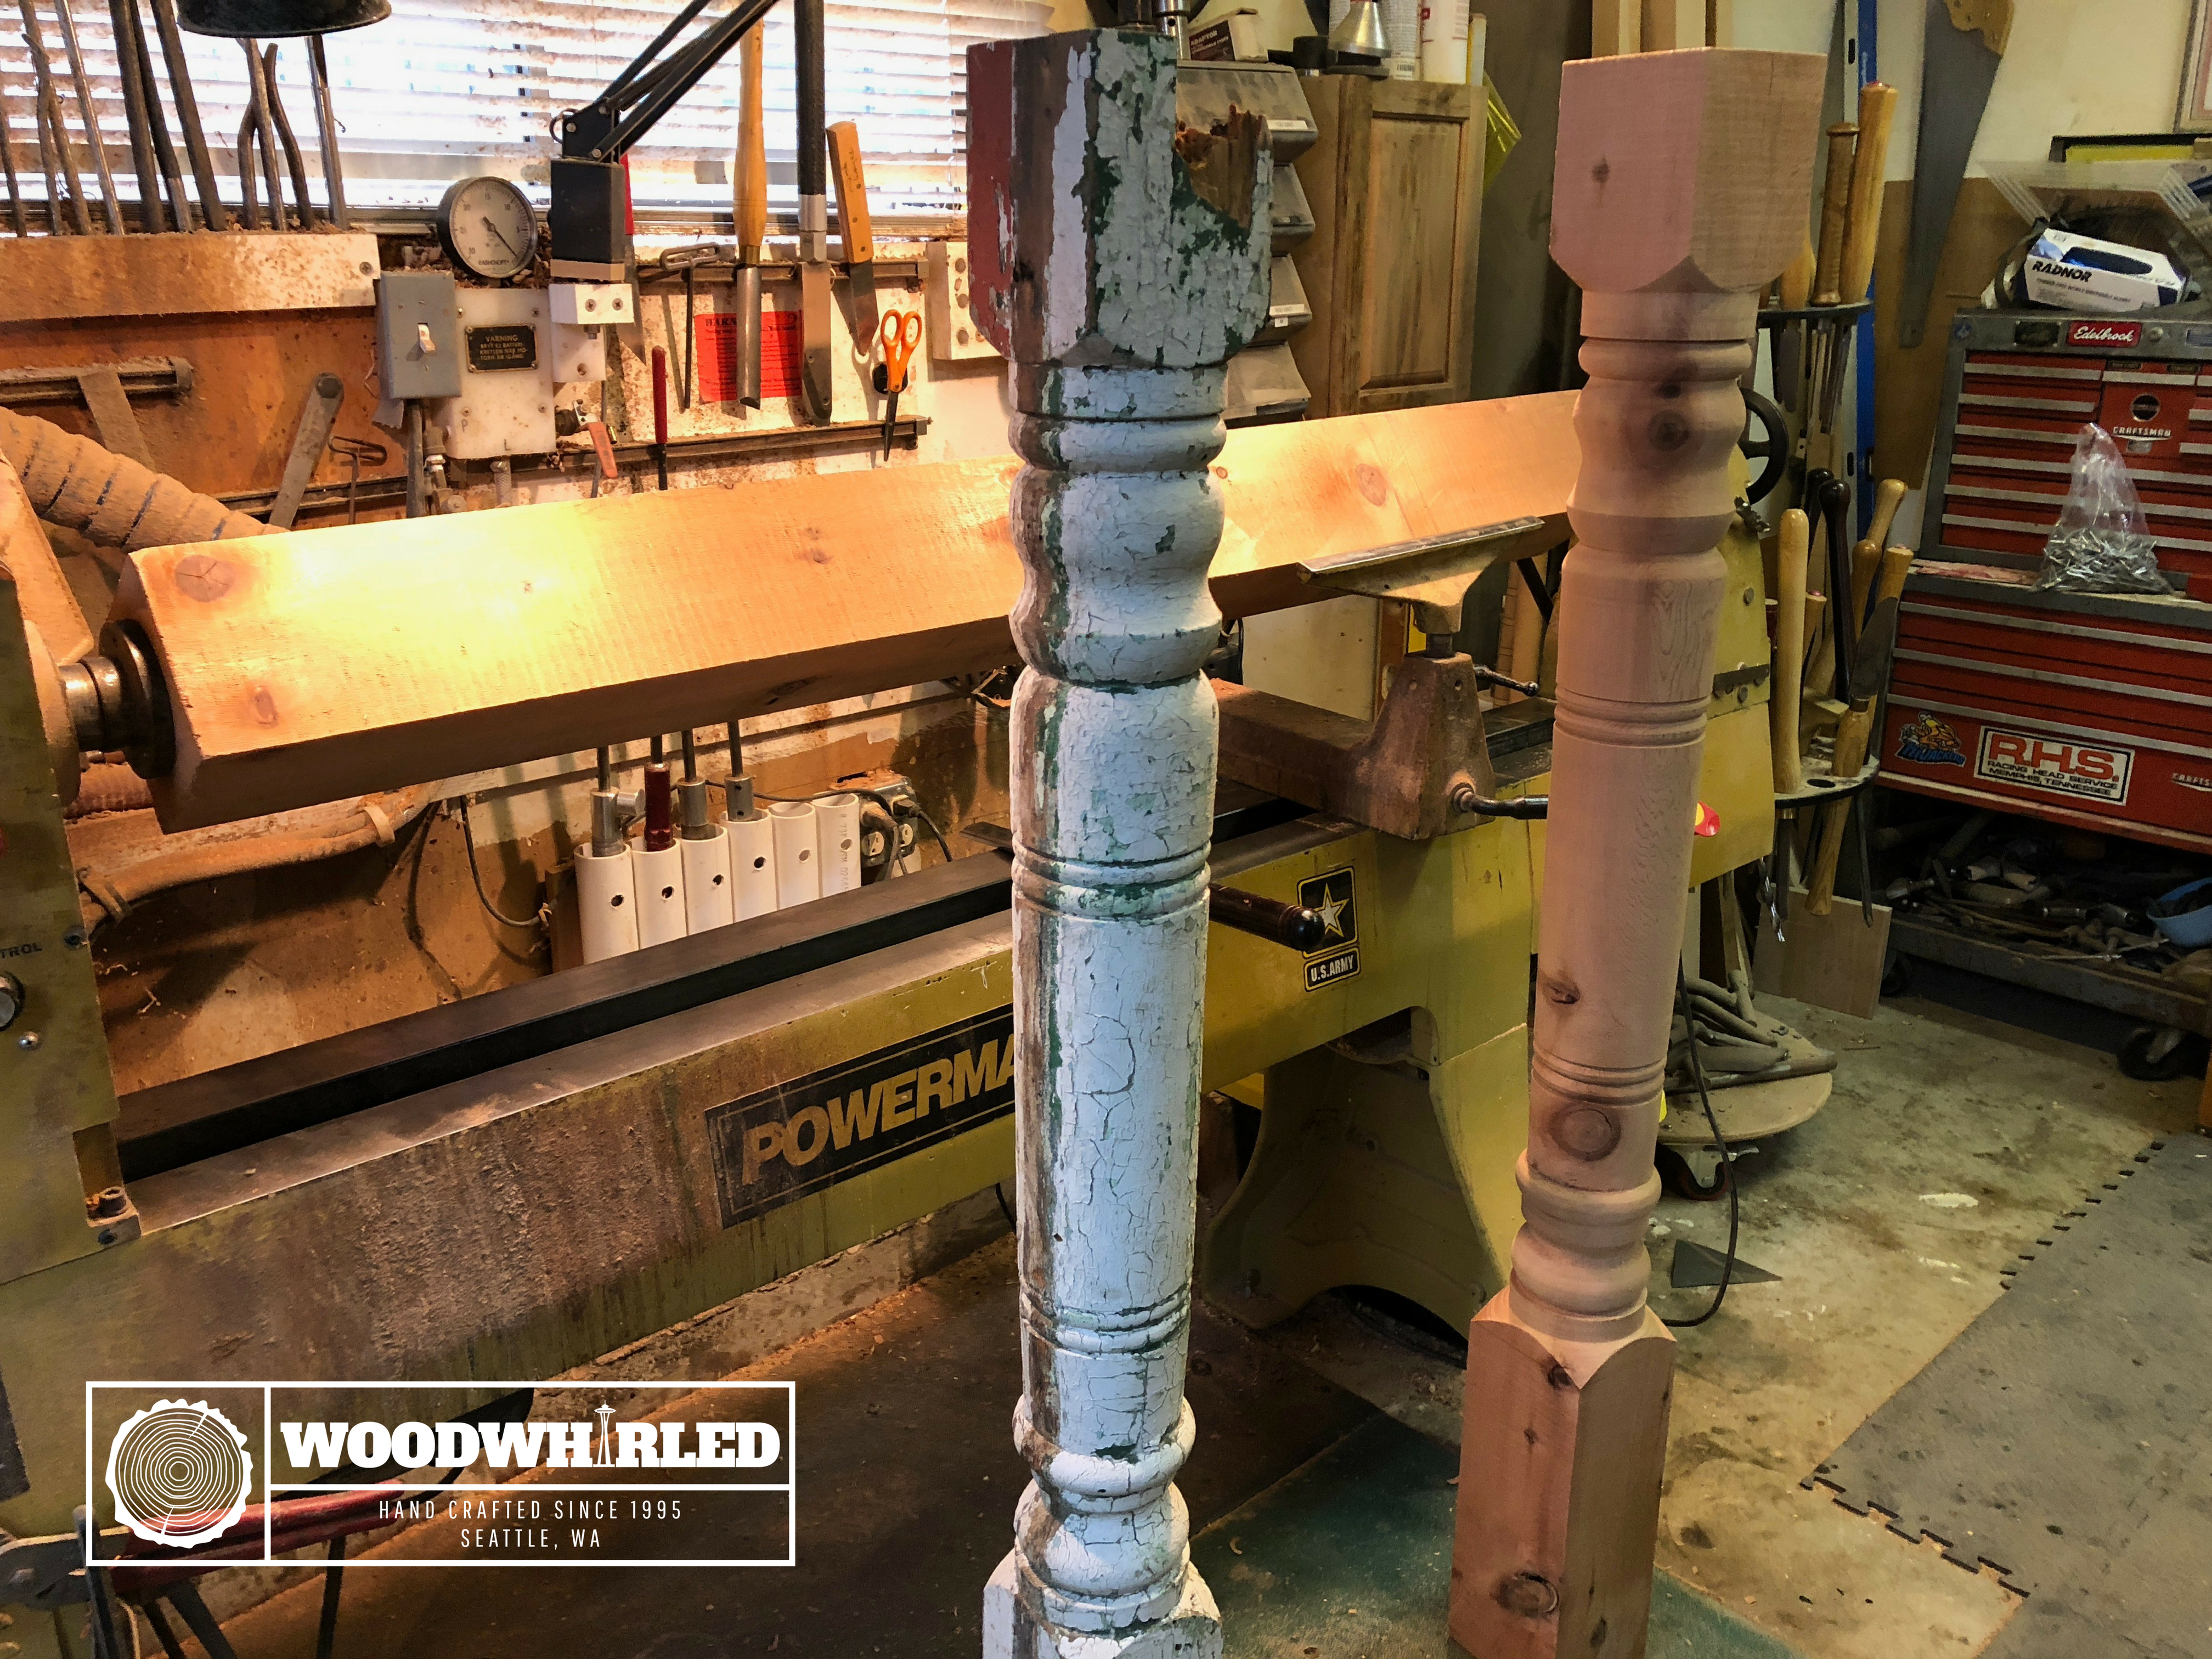
Turning project: Architectural columns

Wooden Pieces, Care & Instructions
1 comment
Enjoy the Perfect Cup of Coffee Every Morning with Our Mini Semi-Automatic Coffee Machine with Milk Frother – the Ultimate Home Appliance for Coffee Lovers! https://officeworkercoffee.com/ coffee machine