3-Legged Stool
MATERIALS AND TOOLS
- Suitable Hardwood, 2" X 14" (Seat)
- Suitable Hardwood, 2 "X 12"-16" (3 EA., Legs)
- 1" Forstner bit
- 1-1/4" Forstner bit
- Drill Press
- Lahte (14" + Capacity)
- Spindle Roughing Gouge
- Spindle Gouge
- Skew
- Bowl Gouge
- Parting Tool
- Cole Jaws / Jumbo Jaws / Vacuum Chuck
- Live Center / Drive CEnter
- Outside Calipers / Vernier Calipers
- Compass
- Tite-bond II Glue
It is helpful if the seat has been made round using a bandsaw before you start, but it is not absolutely necessary.
Layout
Using your compass, scribe a circle of the maximum diameter. Now you will need to adjust your compass to a radius of about 1 1/2" less. This means that if your first circle is 14" in diameter, the next one will be 12 1/2" (or 6 1/4" radius). Using the same compass setting, mark out six 6) equally spaced marks on the circumference of the smaller circle…and it is OK if it doesn't come out exactly equal. Mark every other one with your pencil…now you have three equally spaced divisions. Draw a line from each mark back to the center point. These are your alignment references for the next step. You may now bandsaw the top to the dimension of the larger circle.
Drill Leg Mortises
Mount the 1 1/4" Forstner bit in the drill press. Clamp a strip of 3/4" or 1" thick wood to the drill press table, aligning the near edge of the wood to be directly under the center point of the Forstner bit and to be square to the table. Place the stool top (layout lines up and visible) on the table, aligned so that the bit will come down on the point marked on the inner circle and the line you drew is in line with the bit. Drill the hole 1/4" deep. Repeat this for all three points. Now change to the 1" Forstner bit, and drill the holes at each point to a total depth of 1 1/4". The large but shallower hole will be a relief mortise.
Turn the seat
Locate and mark the center of the seat on both sides. Mount the seat between centers, and then adjust the tool rest for height and clearance. Speed will be approximately 1200-1500 RPM, or NO VIBRATION.
Turn the disc to round and add any decorative work to the rim that you choose. Beads, coves or texturing will look nice. Add a tenon or mortise for mounting to a scroll chuck.
The surface on the head-stock side will be the top of the seat, and now is the time to make a critical decision: will the seat be "dished" or hollowed; will it be "crowned": will it be dished at the perimeter and a slight crown at center? It's not always easy being an artist!!
Remount the top to the scroll chuck. Turn the seat surface to the desired contour.
Now mount your Cole Jaws/Jumbo Jaws/Vacuum Bell, and install the seat with the top toward the headstock and clean-up the bottom surface (make sure you use the tailstock/live center for safety!!), to include removing/concealing the mortise/tenon used by the scroll chuck. I usually add a little embellishment (rosette, rings or beads) to the center of the bottom surface just for added OOOOH!
Now is the time to sand and finish the rim and the seat. Whatever your favorite finish is will be the appropriate one to use. I tend toward the oil finishes, my favorites being Walnut Oil, Tung Oil or Linseed oil….and High Build Friction Polish.
Turn the legs
When turning the first leg, it is very easy to revel in making a very cool shape with lots of neat detail. However, it will be difficult to make a second one just like it, and the third one will have you throwing things.
SO, keep it simple. Simple looks elegant and graceful….and is so much easier to duplicate!!
Set the leg blank up between centers, rough it to round with the Spindle Roughing Gouge or Skew.
Adjust the calipers to 1". NOTE: it is a good idea to verify your caliper setting by comparing it to the holes drilled in the seat…they should match exactly.
Using the calipers and the parting tool, form a tenon on the end of the blank. The tenon should be 1 1/2 inches long. Now you can form the leg. REMEMBER: keep it simple.
Turn all three legs; it can be helpful if you compare the first one with the second and third as you turn them. They will probably not be EXACT matches, but hopefully close enough that the differences will not be glaringly obvious .
Sand and finish the legs as you did the seat. Test-fit the tenons into the seat holes. If they are a bit tight, a gentle touch of 220-grit will make it all better. If they are loose, you have a problem that may take a bit of creative thinking to solve. Once fitted, glue them in. Within an hour, the seat will be ready for use.
Related Posts
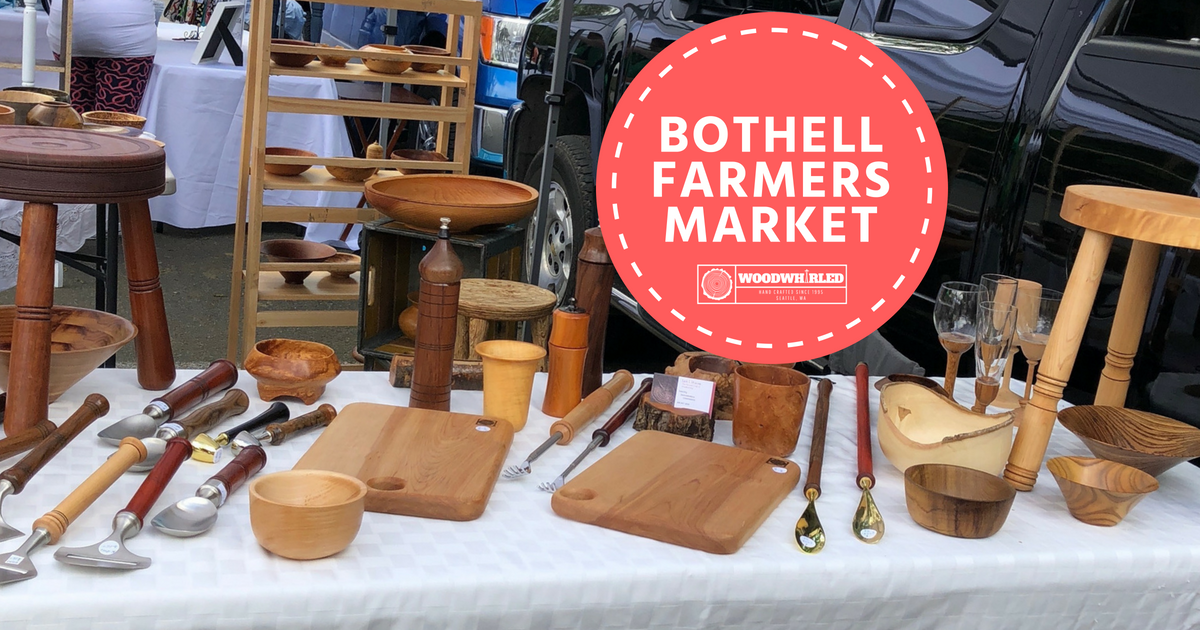
Join us at Bothell Farmers Market!
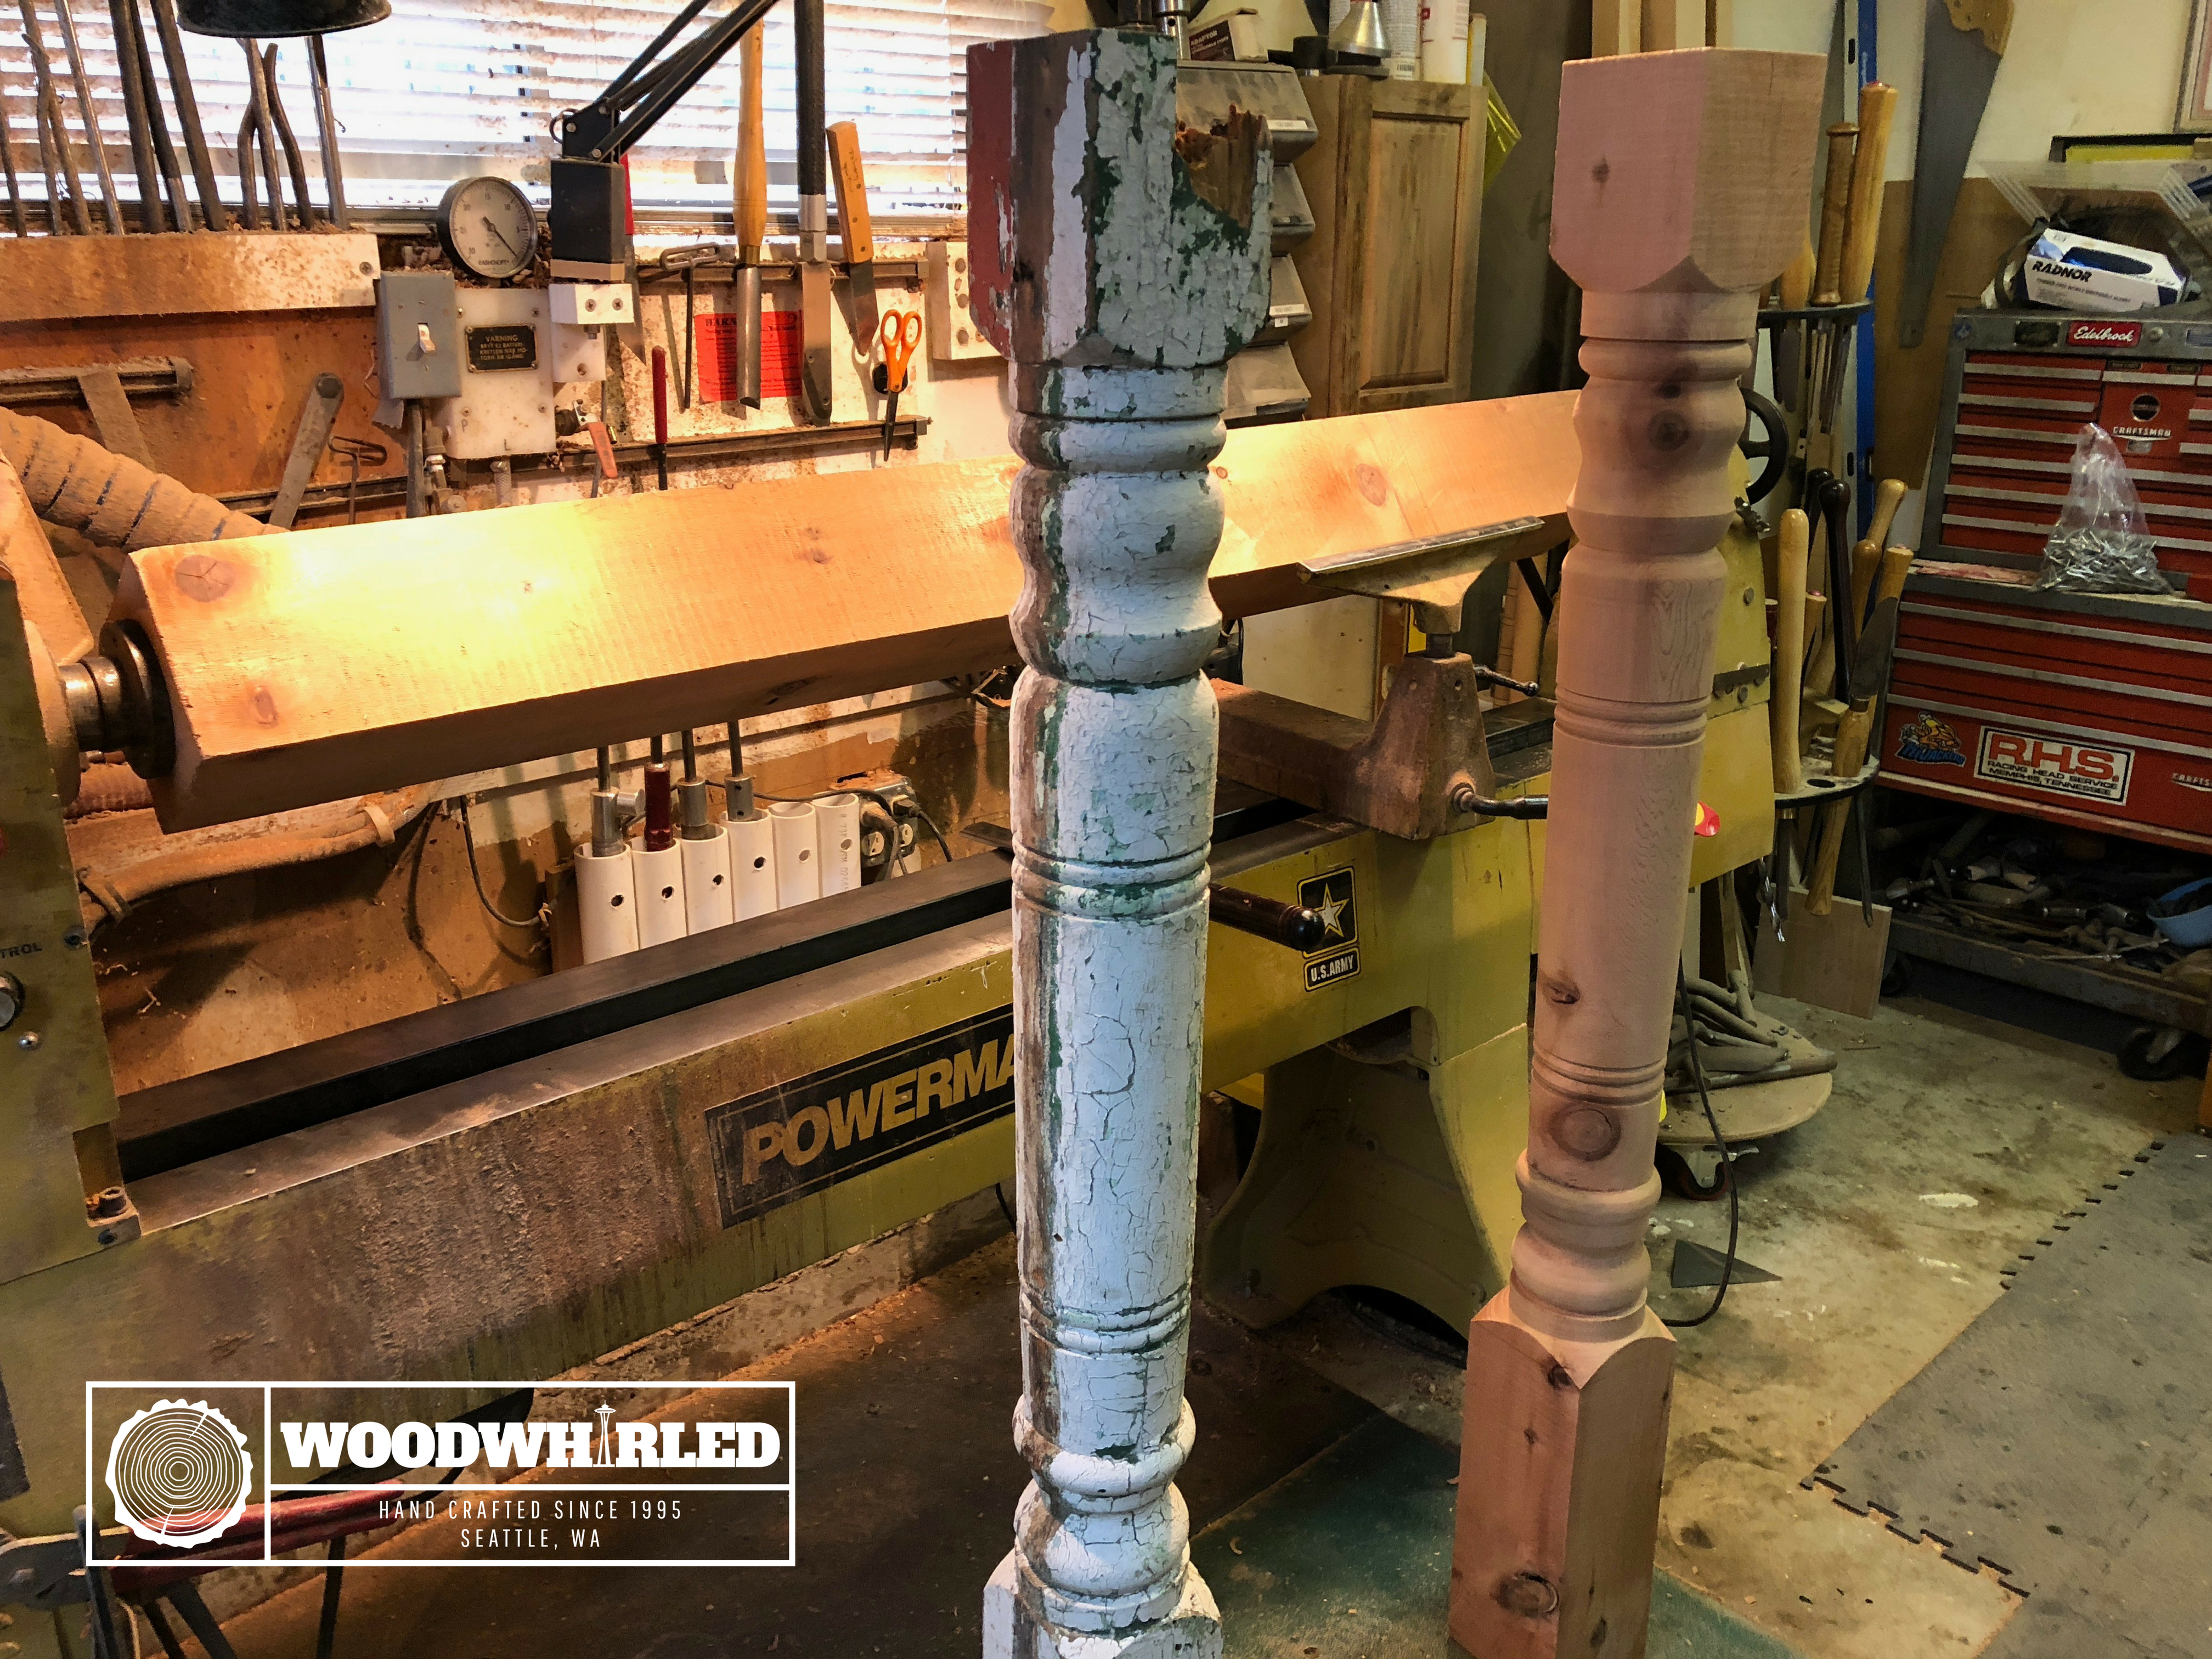
Turning project: Architectural columns
1 comment
Satisfy your sweet tooth without breaking ketosis with our selection of tasty keto snacks, including Shrewd Food Keto Dippers and Quest Frosted Cookies.https://groceriestime.com/ keto snacks